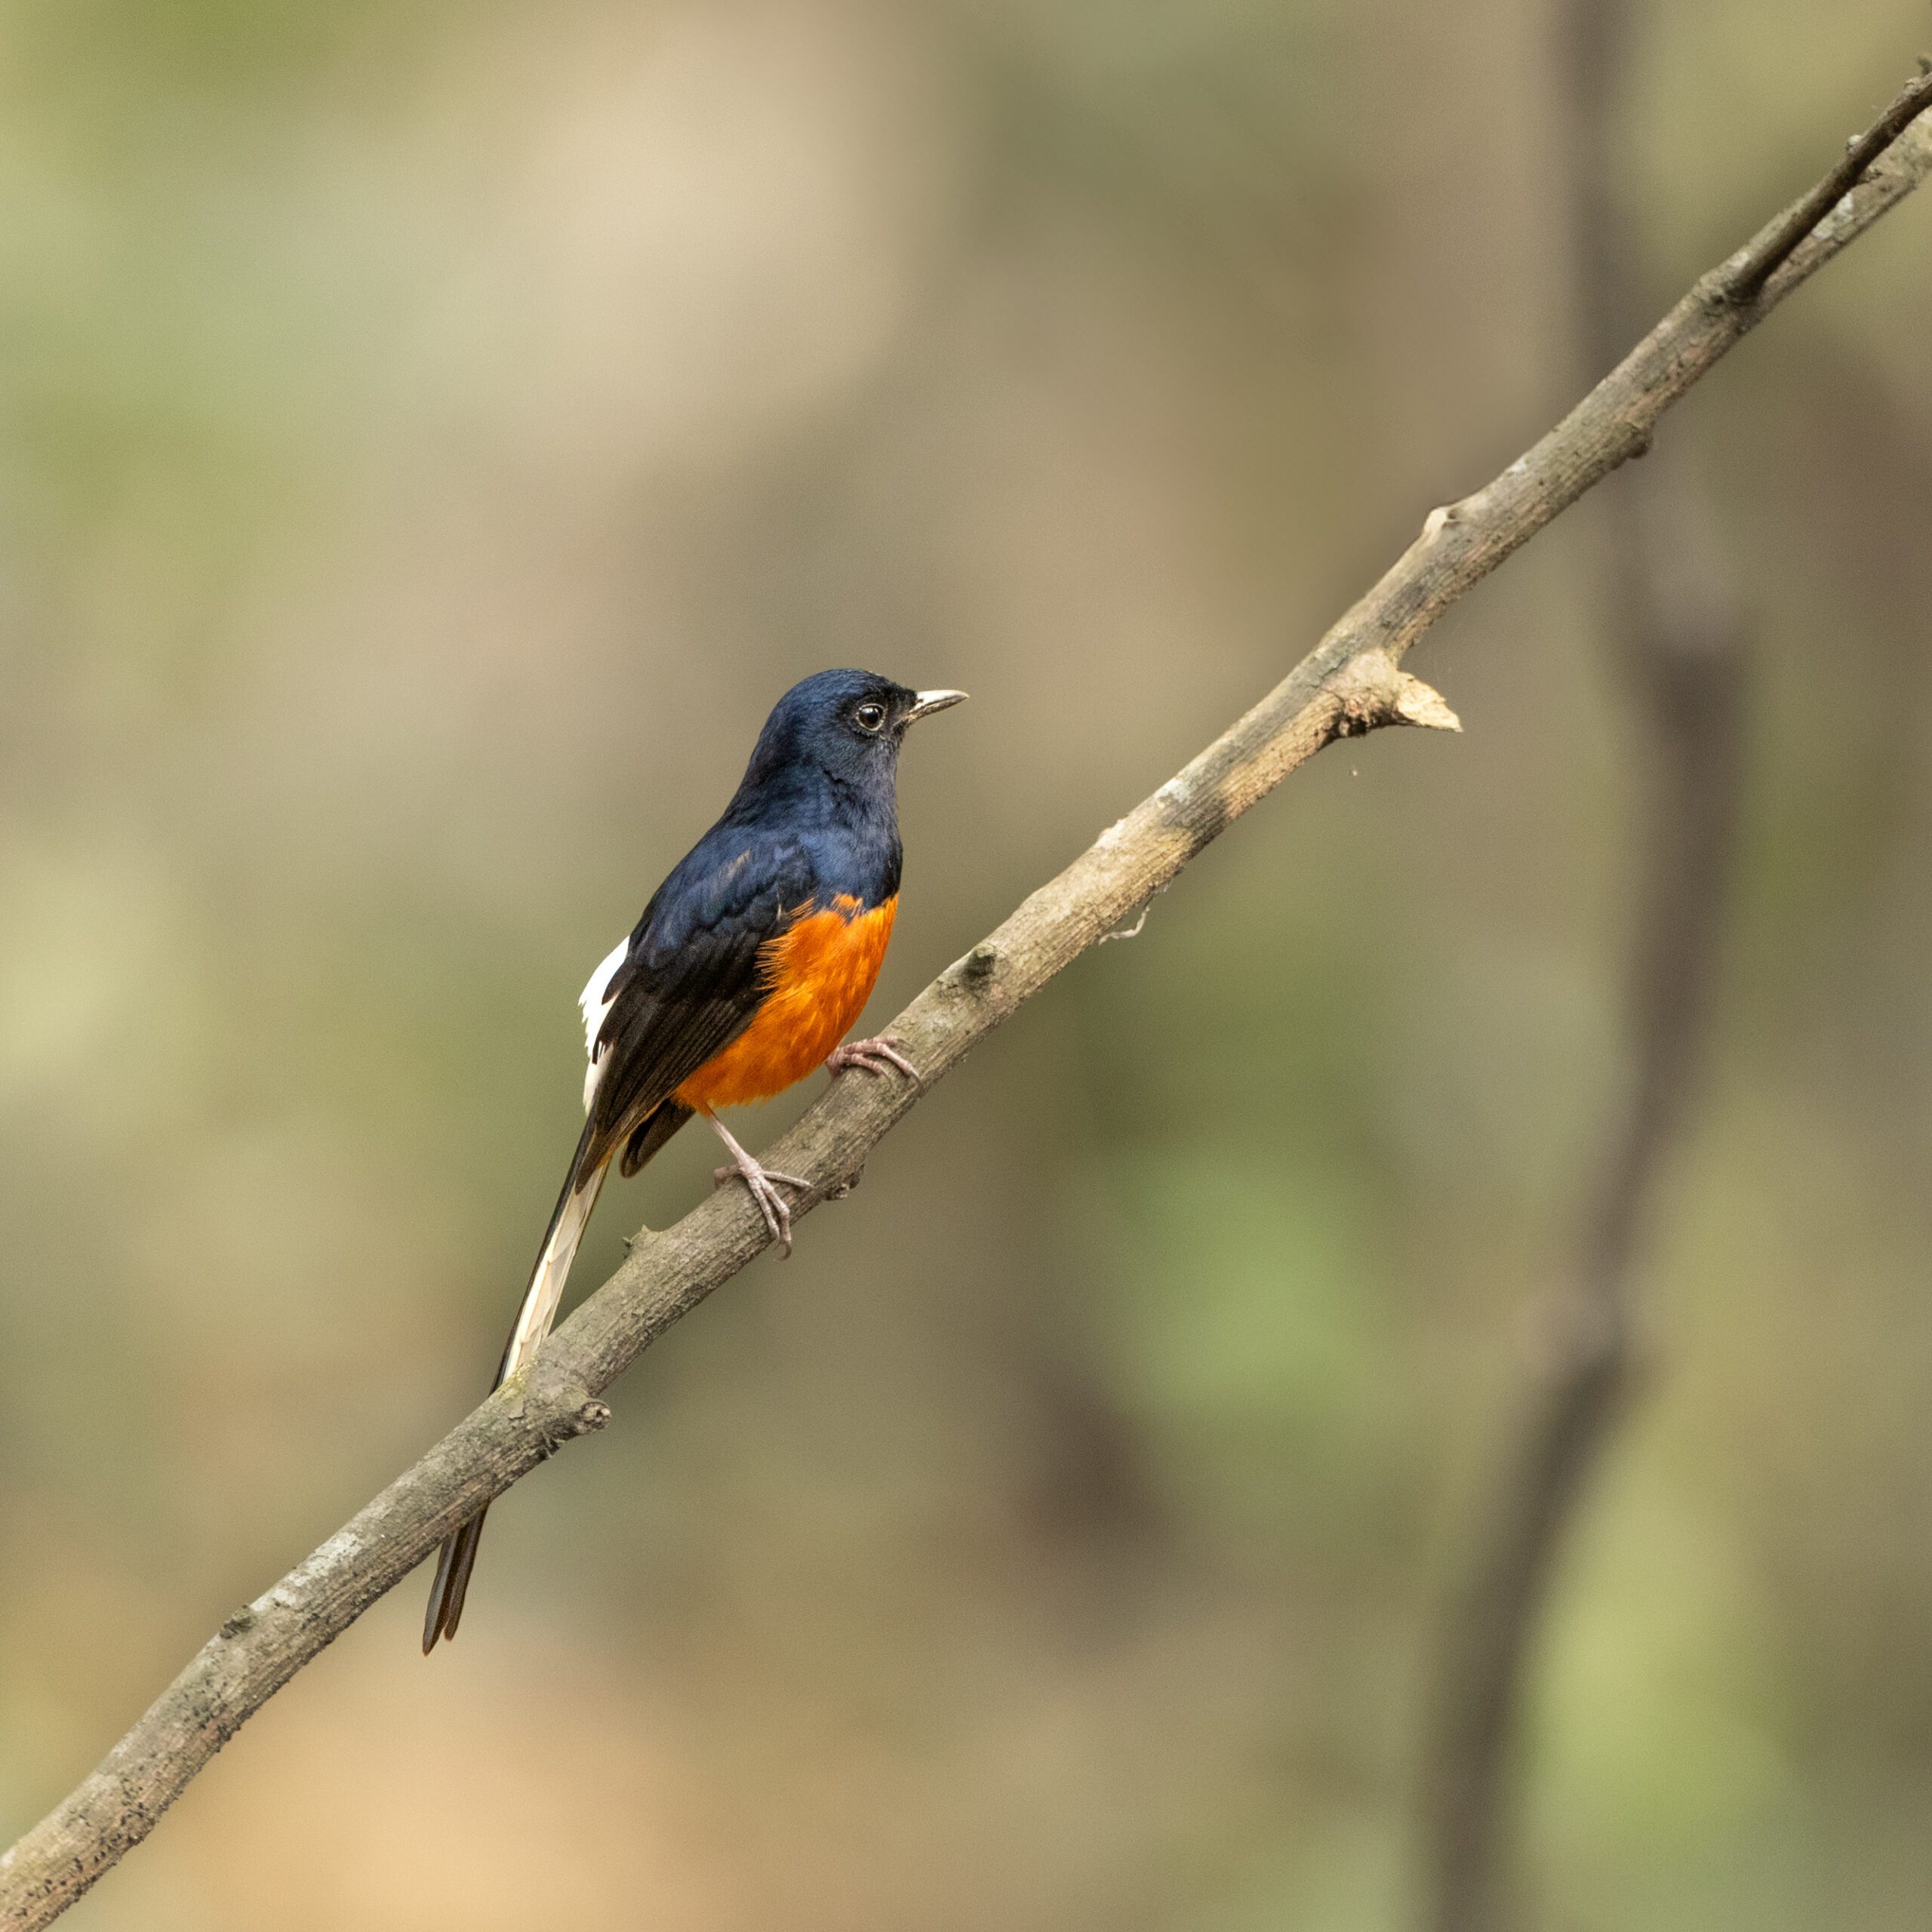
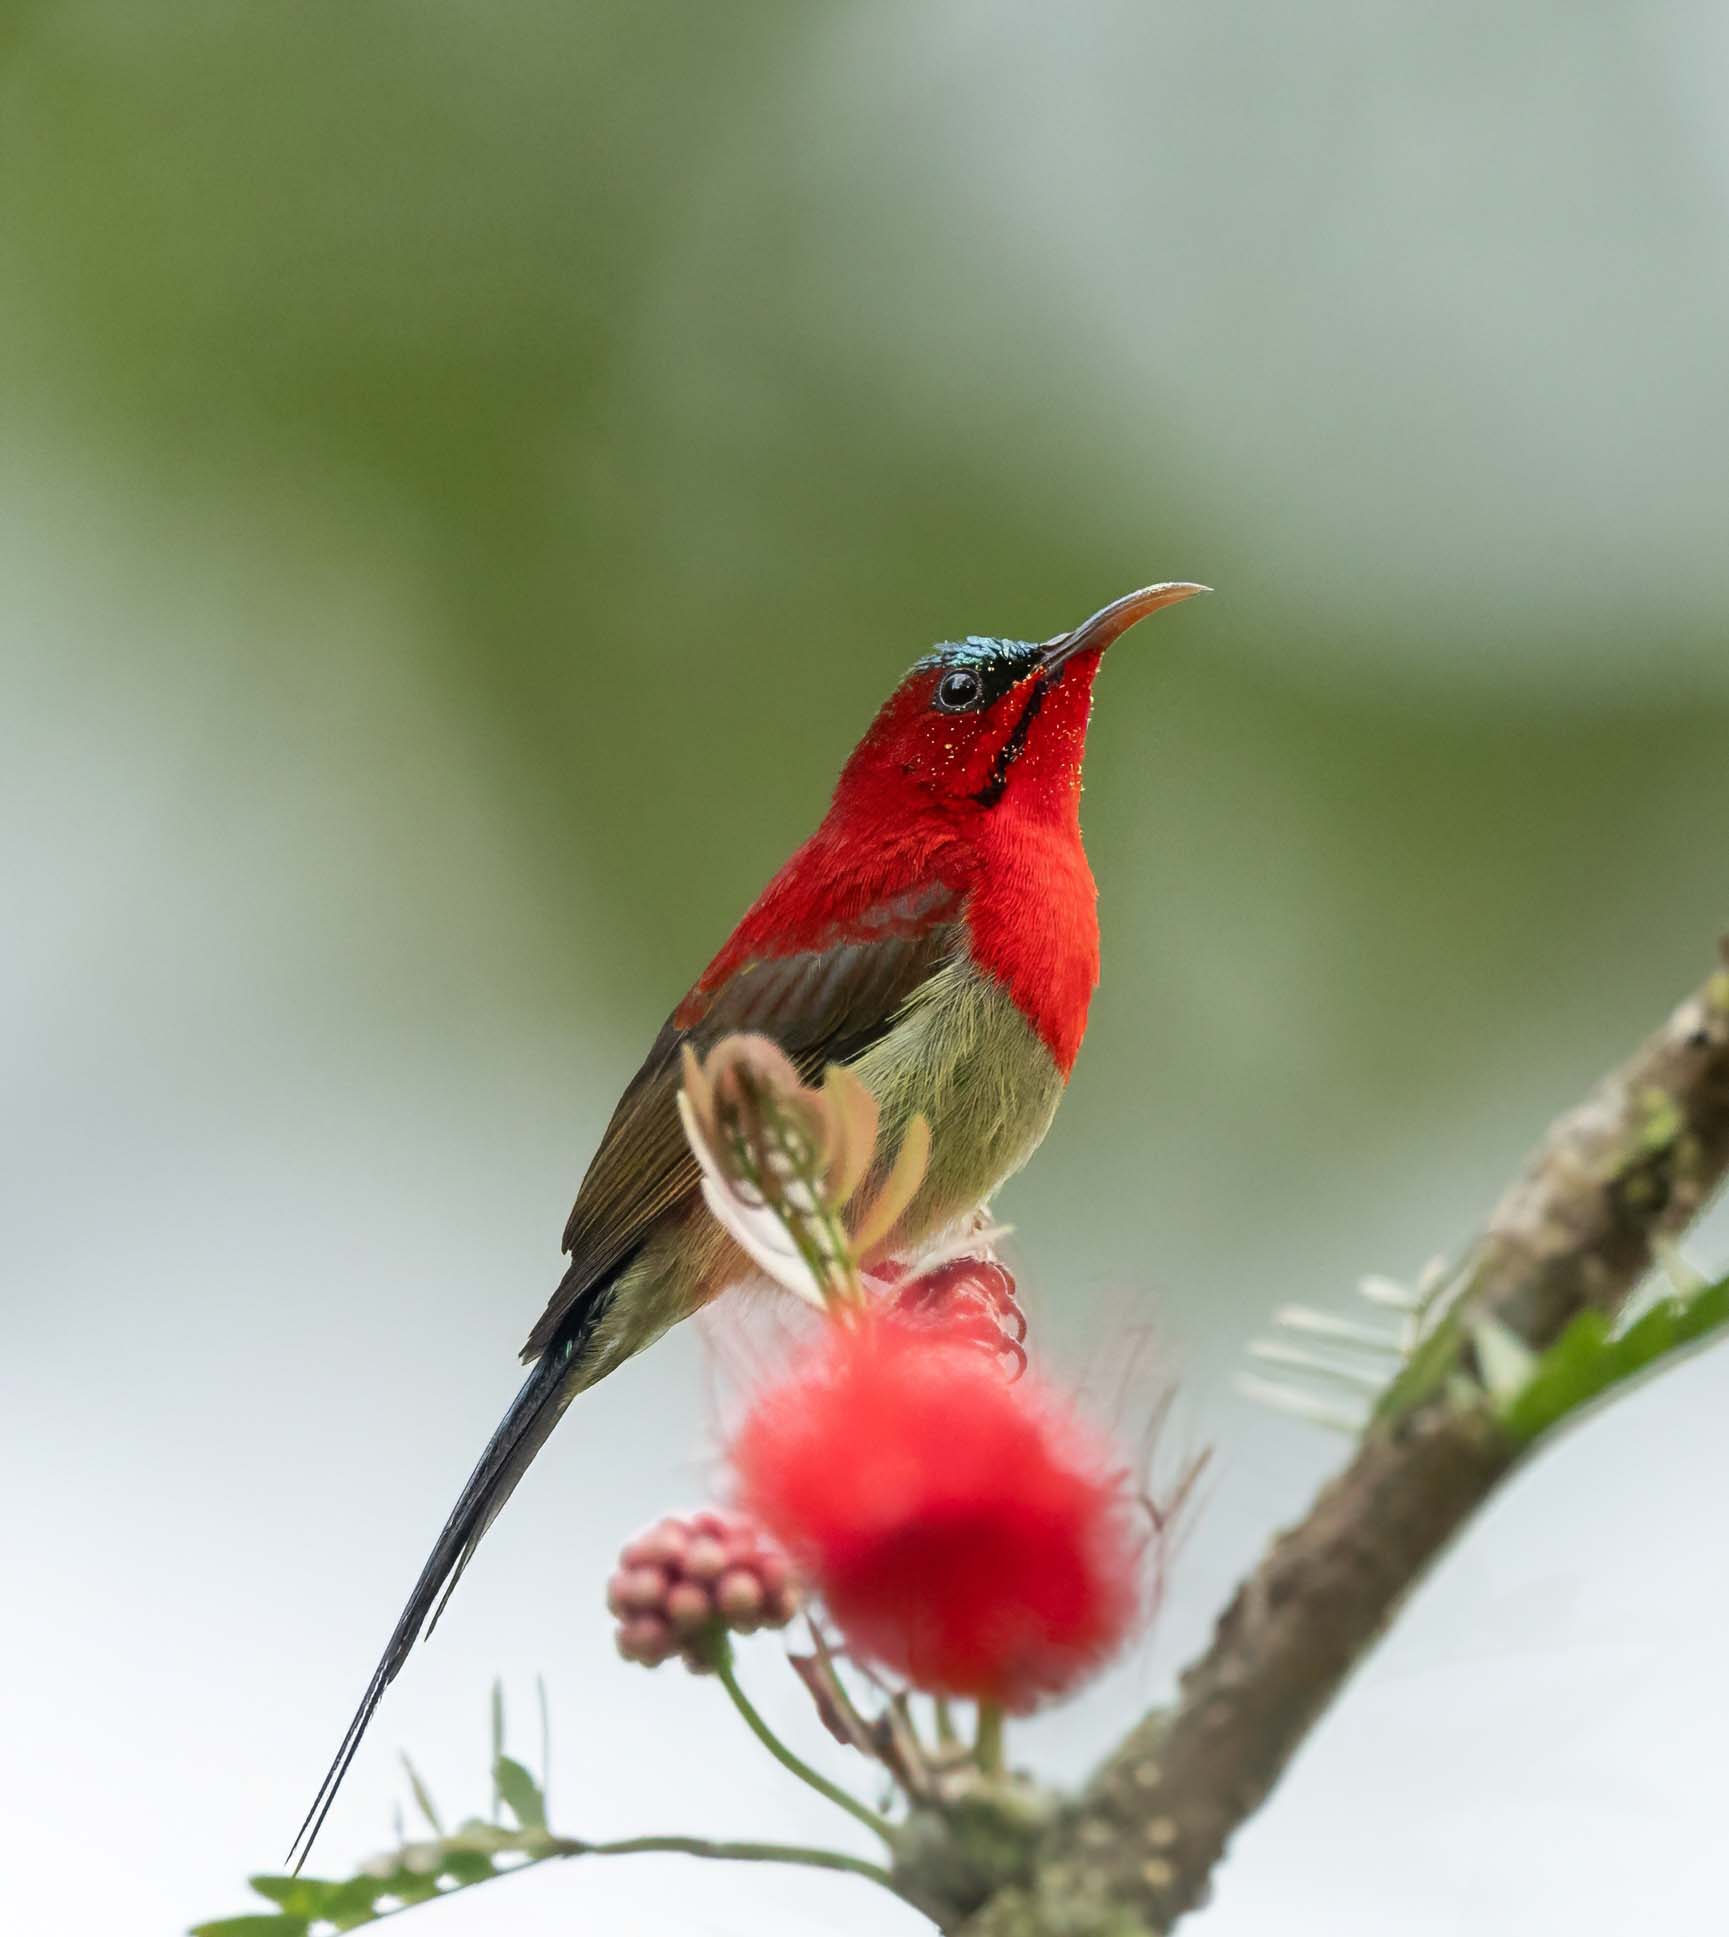
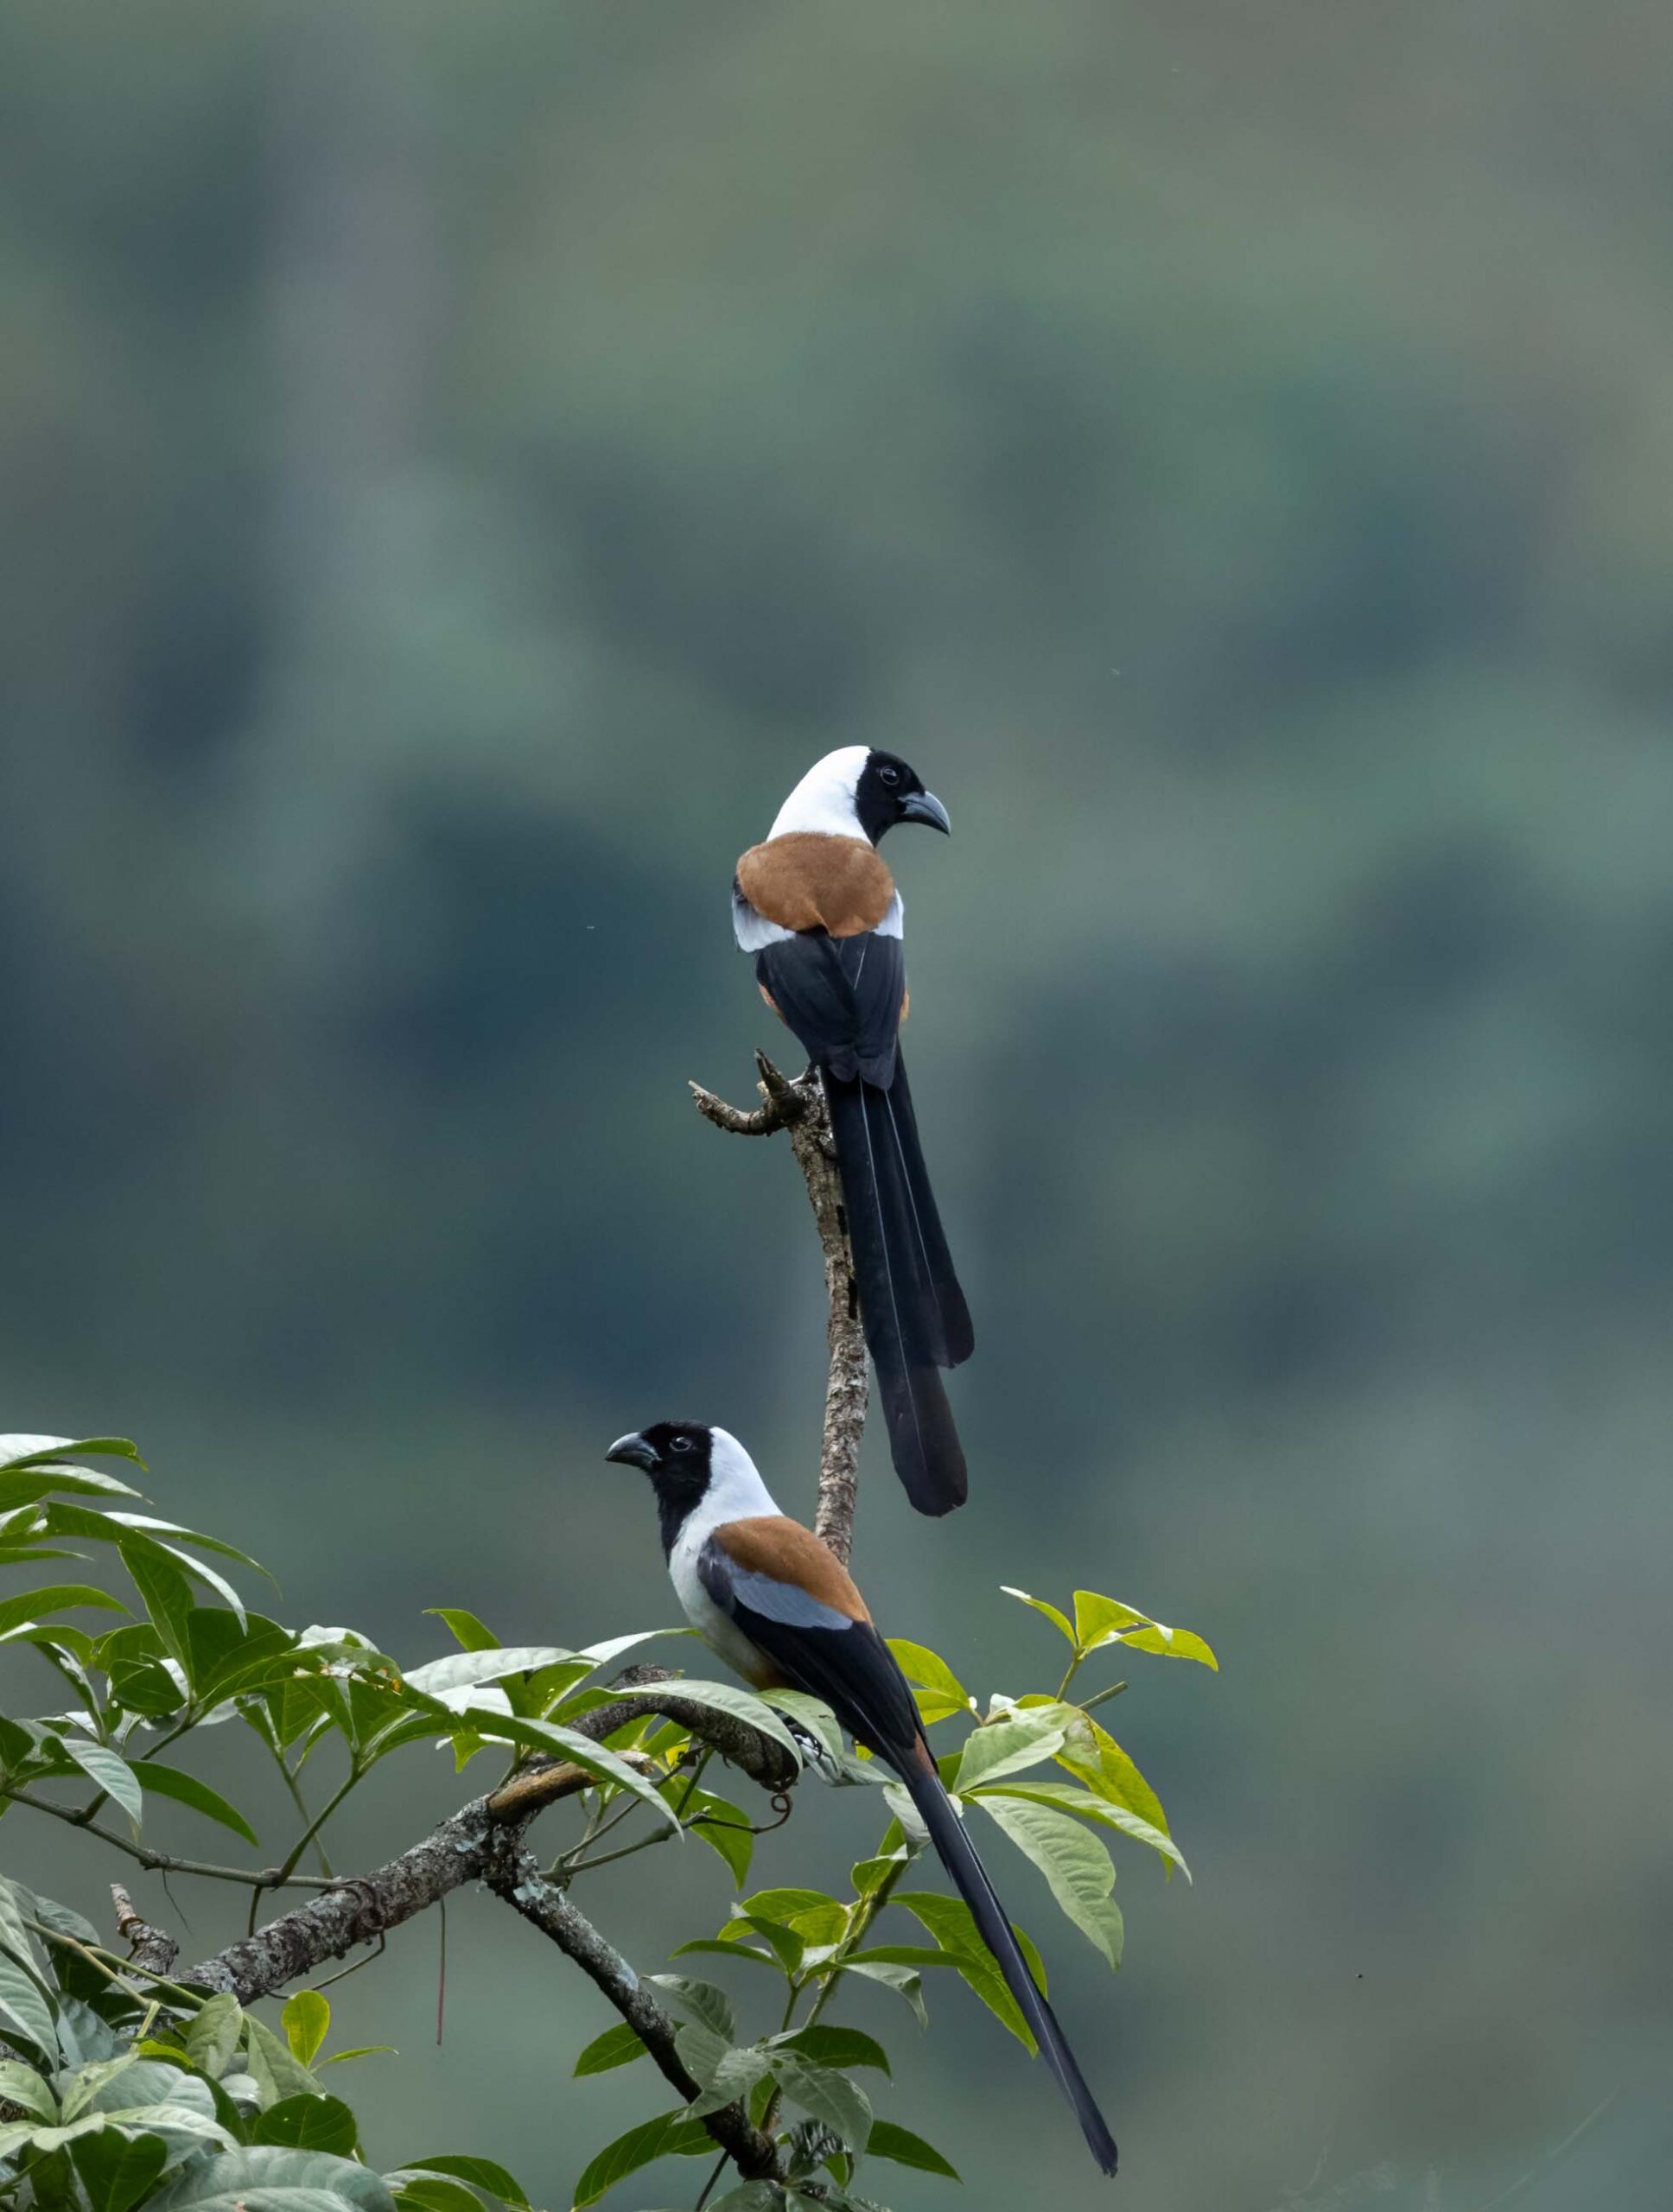
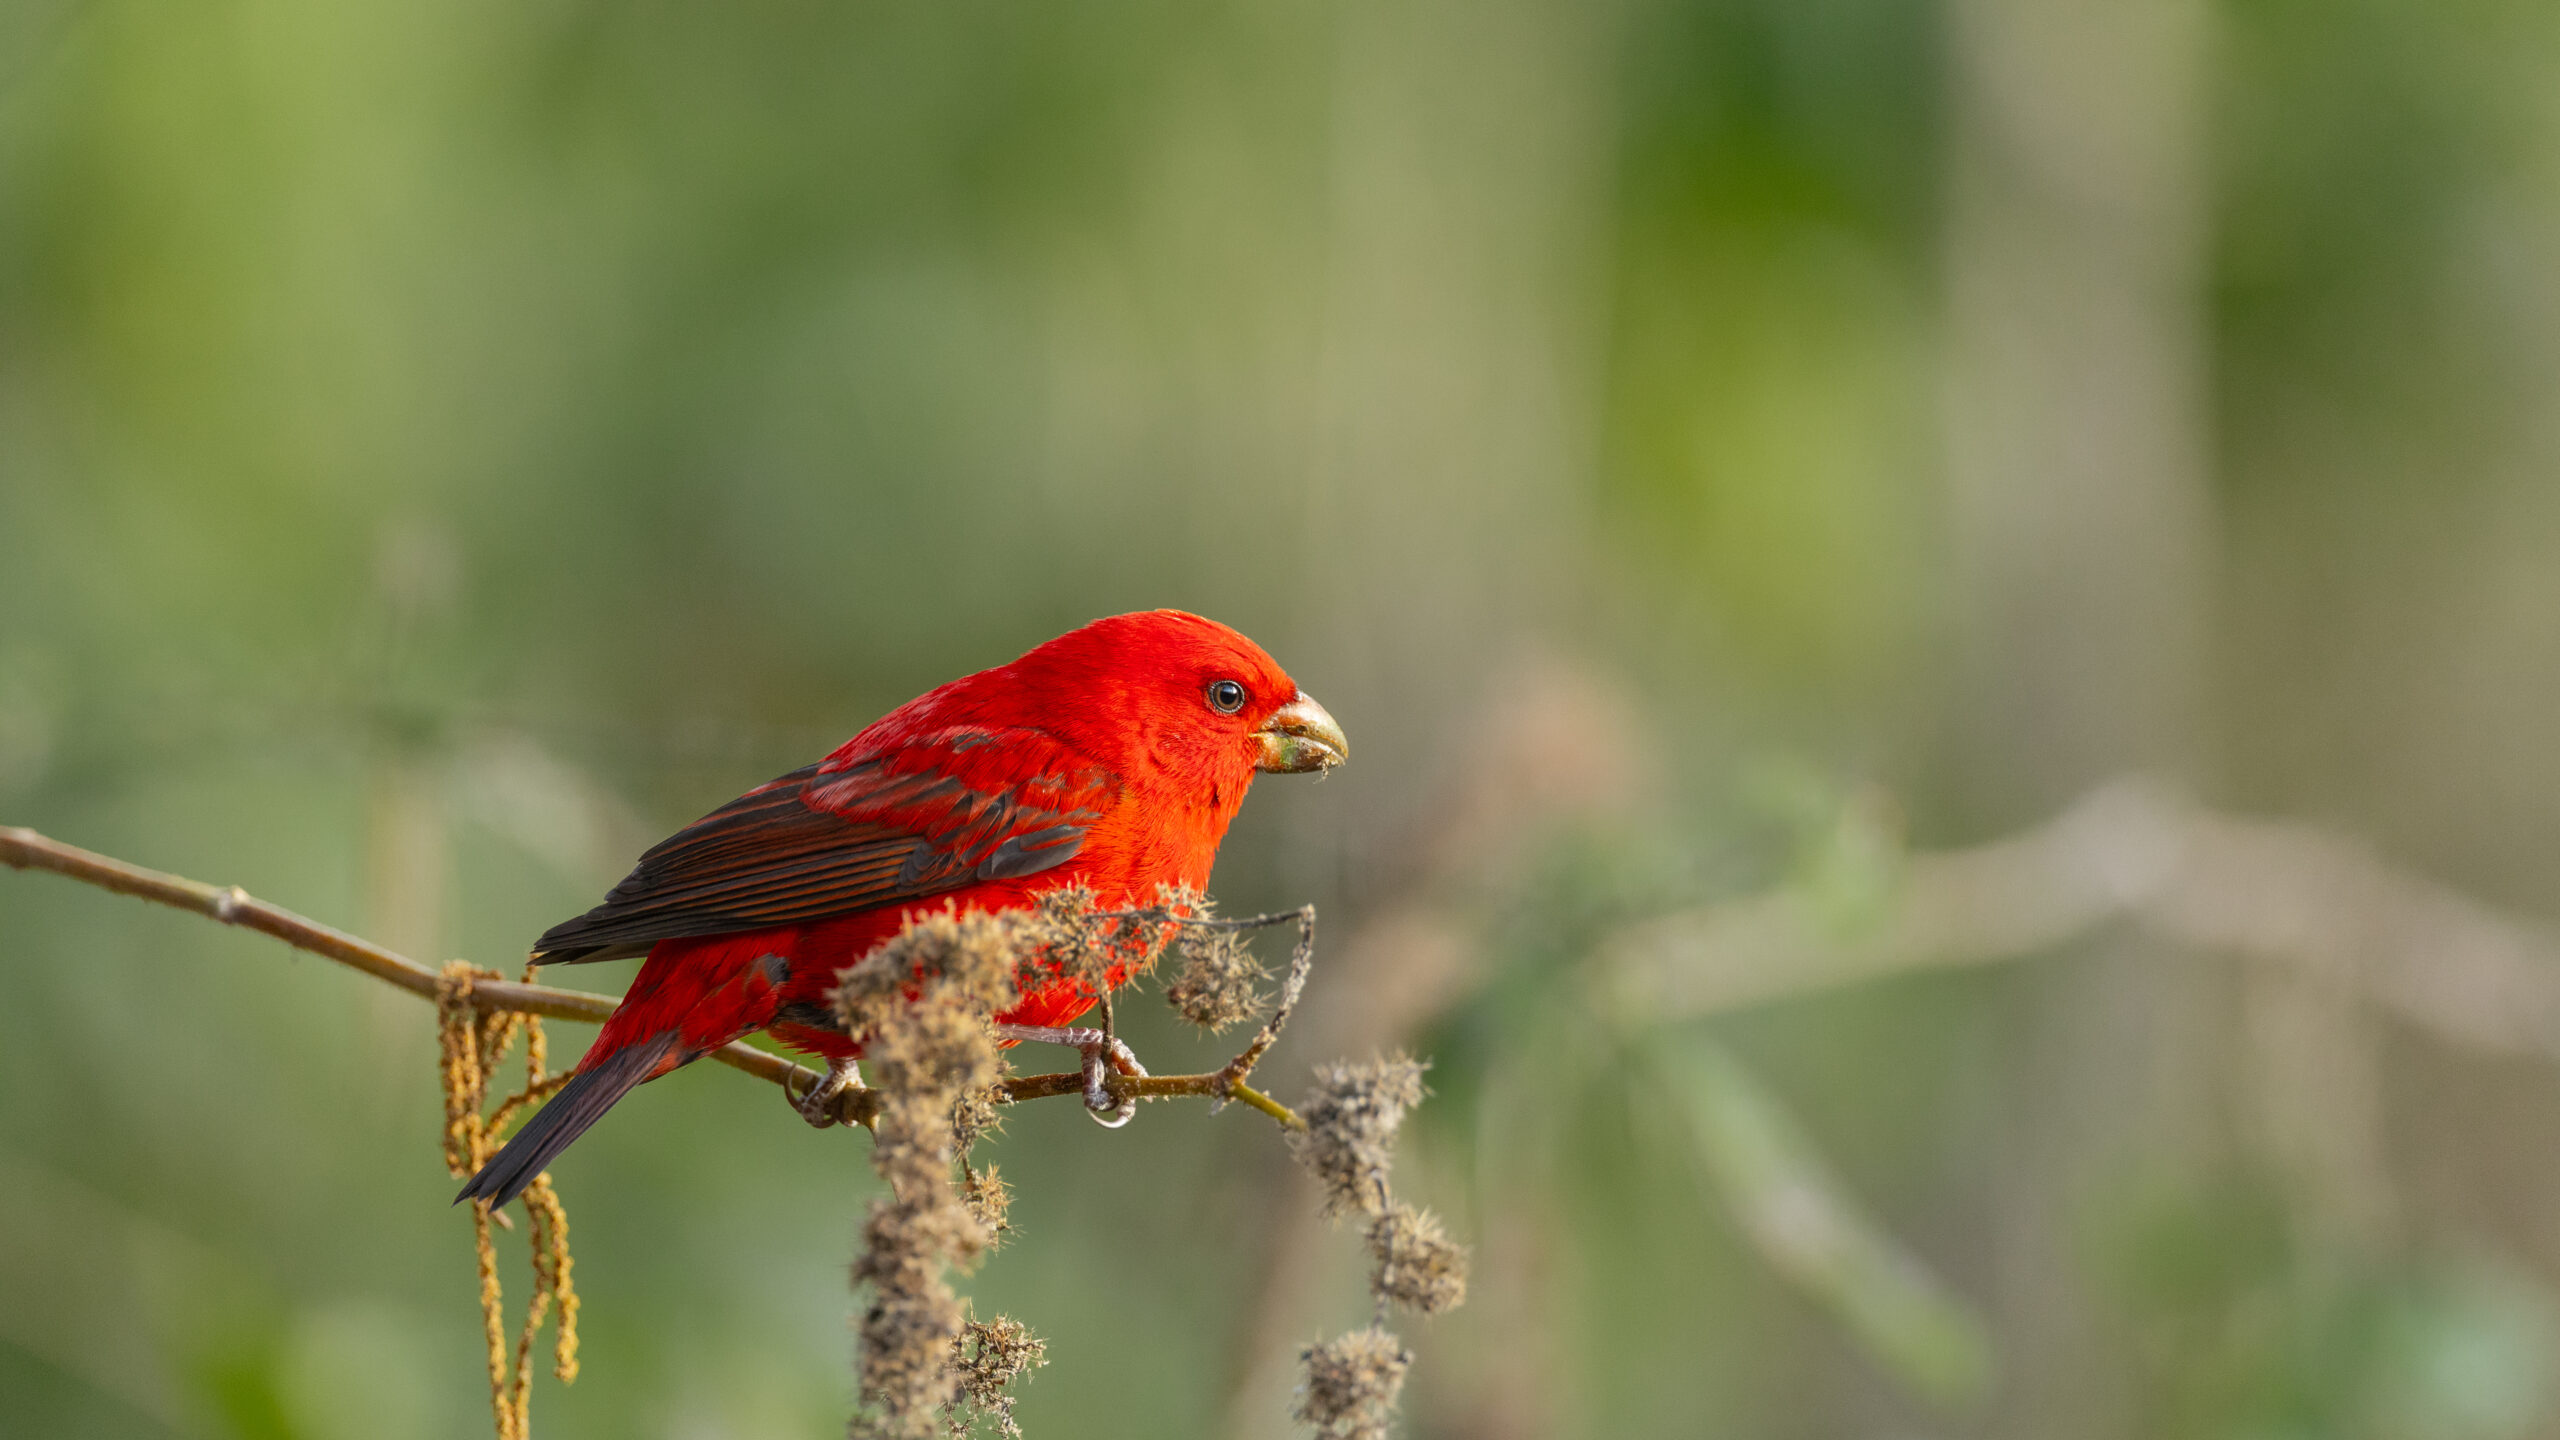
Bird photography is a thrilling yet challenging art. Unlike mammals, birds are constantly moving, making it difficult to frame and capture them perfectly. You need quick reflexes, precise camera settings, and an understanding of bird behavior to take stunning shots.
When I started, I struggled with finding birds in the viewfinder, locking focus, and capturing birds in flight. But once I mastered techniques like Back Button Focus (BBF) and customizing camera buttons, my results improved dramatically.
This comprehensive guide will walk you through the best equipment, settings, techniques, and pro tips to take your bird photography to the next level.
1. Essential Equipment for Bird Photography
1.1 Choosing the Right Camera
The best cameras for bird photography should have:
✔ Fast Autofocus (AF) System – Birds move fast, so quick AF is crucial.
✔ High FPS (Frames Per Second) – A minimum of 10 FPS is recommended.
✔ Good ISO Performance – Shooting in early mornings or low light needs good ISO handling.
1.2 Best Lenses for Bird Photography
For sharp, close-up shots of birds, you need a long focal length lens:
✔ 400mm or more is ideal for small birds.
✔ Zoom Lenses (starting from 100mm to 600mm) offer flexibility.
✔ Prime Lenses (400mm f/2.8, 600mm f/4) deliver the best sharpness and speed.

2. Mastering Camera Settings for Bird Photography
2.1 Understanding the Exposure Triangle
✔ Shutter Speed: Minimum 1/1000s for perching birds, 1/2500s+ for birds in flight.
✔ Aperture: Use f/4 – f/6.3 for subject isolation and better bokeh.
✔ ISO: Auto ISO with a max limit helps maintain exposure without noise.
2.2 Which Mode to Shoot In?
-
- Manual Mode (M): Full control over settings, best for advanced users.
- Aperture Priority (Av/A Mode): Great for beginners to control depth of field.
- Shutter Priority (Tv/S Mode): Best for birds in flight.
💡 Pro Tip: Always shoot in RAW for better post-processing flexibility.
3. Finding the Bird in the Viewfinder – An Underrated Skill
Many beginners struggle to locate birds in their viewfinder quickly, wasting time and missing shots.
How to Master This Skill?
✔ Look at the bird with your eyes first before using the viewfinder.
✔ Note its position relative to a tree, branch, or rock before raising your camera.
✔ Keep both eyes open to maintain a wider field of vision.
✔ Practice tracking moving objects like kites, airplanes, or even running animals.
💡 Pro Tip: If using a zoom lens, start at a lower zoom (100mm-200mm), find the bird, then zoom in gradually.

4. The Power of Back Button Focus (BBF) – My Personal Experience
Back Button Focus (BBF) has been a game-changer in my bird photography, especially for birds in flight and action shots.
✔ Why Back Button Focus Works?
-
- Keeps autofocus locked on the subject while allowing continuous shooting.
- Prevents accidental focus shifts when pressing the shutter button.
💡 My Pro Tip:
-
- Customize your camera buttons so that the most-needed settings (like ISO, metering, focus mode) are easily accessible under your fingers or thumb.
- This helps you optimize your settings without ever looking at the Menu!
5. Understanding Bird Behavior for Better Shots
Knowing how birds move, perch, and feed will help you anticipate their actions.
Common Bird Behaviors to Observe:
✔ Bee-eaters return to the same perch – No need to chase them, just wait!
✔ Birds poop before taking flight – A perfect cue to get ready for action.
✔ Pheasants prefer sitting on high rocks before flying away.
✔ Ground-feeding birds follow a rhythm – They pick up food and look up in intervals, giving you a perfect window to shoot.
💡 Pro Tip: Wait instead of chasing birds. Position yourself based on the bird’s behavior.

6. Birds in Flight – How to Get Perfect Shots
✔ Don’t shoot too tight! Leave enough space for movement.
✔ Follow the bird’s speed – Use smooth panning motions.
✔ Back-button focus (BBF) to keep the bird locked in focus.
✔ Shoot in burst mode (10+ FPS) to capture multiple action shots.
7. Best Locations for Bird Photography in India
✔ Sattal (Uttarakhand) – High bird density, great lighting.
✔ Bharatpur (Rajasthan) – Ideal for waterbirds and winter migrants.
✔ Mishmi Hills (Arunachal Pradesh) – Exotic Himalayan bird species.
💡 Pro Tip: Research seasonal bird migration to visit at the best time.
8. Post-Processing for Bird Photography
✔ Use Lightroom for sharpness, contrast, and noise reduction.
✔ Crop carefully – leave space for composition.
✔ Enhance colors naturally – avoid oversaturation.
9. Common Mistakes & How to Avoid Them
⚠️ Mistake #1: Using Slow Shutter Speeds
🎯 Solution: Use 1/2500s+ for birds in flight to freeze motion and capture sharp details.
⚠️ Mistake #2: Overexposing White Birds
🎯 Solution: Adjust exposure compensation (-0.3 to -1.0 stops) to retain feather details and prevent blown highlights.
⚠️ Mistake #3: Centering the Bird in the Frame
🎯 Solution: Apply the rule of thirds to create balanced and aesthetically pleasing compositions.
Your Next Steps in Bird Photography
Bird photography is a mix of skill, patience, and understanding nature.
Next Steps: Take Your Bird Photography to the Next Level
🔘 Practice Back Button Focus (BBF): Customize your camera buttons for faster and more precise autofocus.
🦅 Observe Bird Behavior: Learn how birds move, perch, and take off to capture them at the perfect moment.
📍 Join a Guided Birding Tour: Explore exotic species and improve your photography skills with expert guidance.

